
Rock Tumbling at Home: A Fun DIY Hobby for Adults
Rock tumbling might be your perfect new hobby if you’ve ever dreamed of transforming ordinary rocks into dazzling jewels.
You can turn those rough stones you’ve collected into sleek, glossy treasures right in your own home.
Whether you’re hoping to create distinctive jewelry pieces, decorative items, or simply want to delve into the intriguing realm of lapidary arts, rock tumbling offers endless creative possibilities.
Let’s uncover how you can get started with this rewarding craft.
Essential Equipment for Rock Tumbling Success
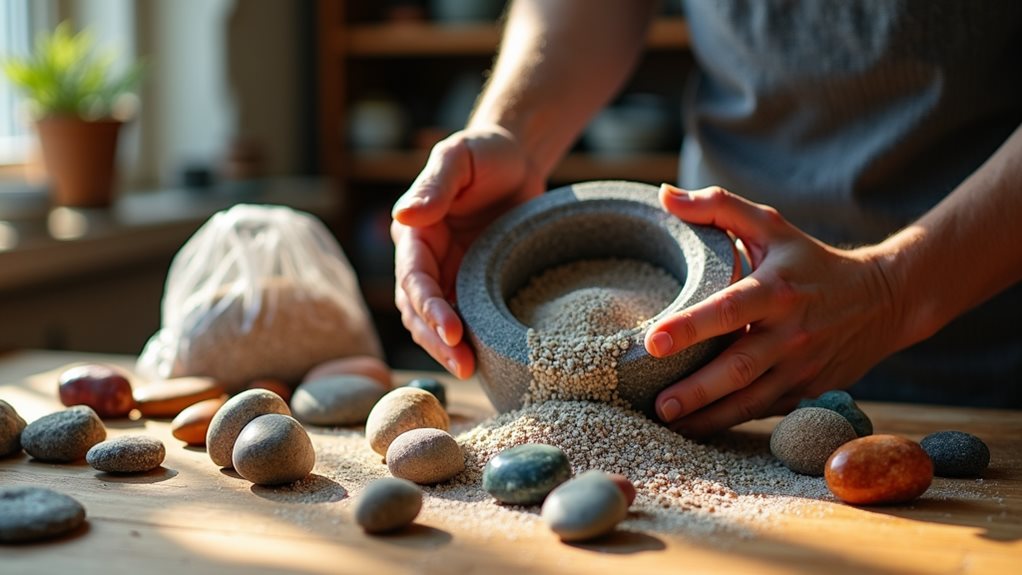
When you’re ready to plunge into the fascinating world of rock tumbling, having the right equipment is absolutely essential for transforming rough stones into dazzling jewels.
You’ll need a high-quality rock tumbler with a durable motor that can withstand weeks of grinding and polishing action, along with a selection of rough stones to start your collection.
To make this fun hobby successful, you’ll want to invest in various grades of polishing grit, which act like liquid sandpaper to refine and polish your rocks.
Don’t forget to choose a tumbler with a leakproof barrel that’s easy to clean between stages. For the best results, fill your tumbler only one-third full with rocks and grit, and consider getting a model with helpful features like a digital timer to track your progress. Additionally, opting for a tumbler with brushless motors can enhance the quietness and durability of the operation.
Selecting the Perfect Stones for Your Project
How do you turn ordinary rocks into stunning jewel-like treasures? It all starts with choosing the right stones for your rock tumbler kit.
You’ll want to begin with common rough rocks like quartz, agate, or jasper, which are perfect for simple operation and durable enough to withstand the polishing grits. When selecting your tumbling rocks, look for pieces that are about 1-2 inches in size and free from major fractures. Local riverbeds and beaches are excellent spots to find partially polished stones that’ll transform beautifully into polished jewels.
Before you start, check your stones’ hardness on the Mohs scale to verify they’ll work well together in your tumbler.
Understanding Grit Grades and Polishing Stages

Perfecting the art of rock tumbling requires understanding the critical relationship between grit grades and polishing stages.
When you’re ready to transform rough rocks into radiant treasures, you’ll work through three essential stages. Start with coarse grit (60/90) for 7-10 days to shape your stones and even out rough edges.
Next, you’ll move to medium grinding with 220 grit for another 7-10 days, which enhances your stones’ surfaces even further.
Ultimately, you’ll achieve that sought-after luster during the polishing stage, where you’ll use fine grits like 500 or 1200 along with a polishing compound.
Throughout this tumbling process, you’re gradually working from coarser to finer grits, each stage building upon the last to create beautifully polished stones.
Building Your Own DIY Rock Tumbler
You’ll be amazed at how easily you can create your own rock tumbler using common items like a 5-gallon bucket, printer roller bars, and a 3-liter soda bottle, making this an incredibly budget-friendly project.
Following the simple assembly steps, you can have your DIY tumbler ready in just 5-10 minutes, with the main task being drilling holes for the roller bars at the correct height.
Your homemade tumbler’s design can be customized to your needs, and you’ll find that experimenting with different motors and container sizes helps you uncover the perfect setup for your rock polishing adventures.
Simple Materials Needed
Building a DIY rock tumbler requires surprisingly simple materials that won’t break the bank.
You’ll need a 5-gallon bucket, which serves as your main tumbling container, along with printer roller bars that’ll create the even rotating action needed for polishing rough rocks. The best part is that you can often find these materials for free or at minimal cost from discarded items around your home or workplace.
For the assembly process, you’ll also need a drill to create holes in your bucket, and a 3-liter soda bottle that helps position everything correctly.
The roller bars should be placed about 4 inches apart, with one slightly lower than the other for ideal tumbling action. Once you’ve gathered these simple materials, you can put together your rock tumbler in just 5-10 minutes.
Assembly Steps Explained
Now that you’ve gathered your materials, let’s put this amazing DIY rock tumbler together step by step.
Building your path to turning rough rocks into polished rocks is easier than you might think! Start by drilling holes in your 5-gallon bucket, spacing them 4 inches apart for your printer roller bars.
Next, position the roller bar so it’s level with or slightly below the fixed bar – this is vital for seamless operation.
You’ll then want to modify a 3-liter soda bottle to connect your drill and rod to the bucket, creating a perfect assembly that won’t leak.
The whole fun hobby comes together in just 5-10 minutes, and you can test it immediately to verify everything’s working properly.
If needed, adjust the rotation speed using a microwave motor for better results.
Cost-Effective Design Tips
Several money-saving tricks can transform your rock tumbling hobby from an expensive endeavor into an affordable DIY adventure.
You’ll love how this fun and easy project comes together using repurposed materials that won’t cost you a dime, making it perfect as a rock tumbler for kids or adults similarly.
Here are three cost-effective design tips that’ll help you create an efficient tumbler:
- Salvage a durable motor from an old printer or microwave, ensuring it runs at the right speed for proper tumbling.
- Create your drum using a 3-liter soda bottle or large plastic container, modifying it with old tires for better stability.
- Focus on noise reduction by incorporating rubber elements into your design, making your DIY rock tumbler up to 75% quieter than store-bought plastic models.
Safety Measures and Best Practices
While rock tumbling can be an incredibly rewarding hobby, following proper safety measures and best practices is vital to protect yourself and your equipment. Don’t forget to wear your safety goggles and gloves whenever you’re handling rocks or grit, as these items will shield you from potential injuries. You’ll need to maintain your tumbler properly and clean the tumbler between stages to achieve stunning results with your rock polishing projects.
| Safety Element | Why It’s Important | How to Do It |
|---|---|---|
| Eye Protection | Prevents eye injury | Wear safety goggles |
| Hand Safety | Guards against cuts | Use protective gloves |
| Load Management | Prevents equipment damage | Fill only 1/3 capacity |
| Cleaning Protocol | Guarantees quality results | Clean between stages |
| Equipment Care | Extends tumbler life | Follow manufacturer’s instructions |
Troubleshooting Common Rock Tumbling Issues

Even with proper safety measures in place, you’ll likely encounter some challenges during your rock tumbling adventures. Understanding common issues and their solutions will help you achieve better results with your rough rocks.
Here are three key problems you might face and how to solve them:
- Overloaded tumbler: Fill your drum only one-third full to prevent motor strain and guarantee proper tumbling action.
- Contaminated grit stages: Clean both rocks and tumbler thoroughly between stages to avoid compromising the polishing process.
- Unusual noise or movement: Check for drum misalignment and maintain proper lubrication of all moving parts.
Remember to monitor your tumbling time carefully, typically 3-7 days per stage, and adjust your grit size if you notice rocks chipping during the process.
With attention to these details, you’ll excel in the art of rock tumbling.
Creating Beautiful Projects With Polished Stones
Once you’ve perfected the art of rock tumbling, your collection of polished stones can transform into stunning works of art and meaningful keepsakes.
Your DIY hobby can blossom into countless craft projects that showcase your artistic expression, from creating graceful jewelry pieces to designing eye-catching home decor.
You’ll uncover endless possibilities as you turn your polished stones into beautiful pendants, earrings, and custom keychains that make one-of-a-kind gifts for friends and family.
Try arranging your stones in decorative bowls as striking centerpieces, or incorporate them into creative mosaics that add natural beauty to your living space.
As you explore different techniques and designs, you’ll develop your own distinctive style, turning simple rocks into treasured pieces that reflect your creativity and craftsmanship.
Frequently Asked Questions
What Cool Things Can You Do With Tumbled Rocks?
Like precious stones waiting to be found, you’ll find endless possibilities with tumbled rocks – create jewelry, design decorative displays, craft distinctive gifts, improve home decor, beautify gardens, and inspire educational projects.
What Is a Good Beginner Rock Tumbler?
You’ll want the National Geographic Rock Tumbler Kit for its leakproof rubber barrel, one-touch settings, and included polishing compounds. It’s perfect for learning basic tumbling techniques with common rock types.
What Not to Put in a Rock Tumbler?
Unless you’re aiming for disaster, don’t put soft stones, calcite, gypsum, oversized rocks, mixed hardness materials, metals, glass, ceramics, or toxic substances in your tumbler. Stick to similar-hardness stones under 1 inch.
What Stones Should Not Be Tumbled?
You shouldn’t tumble soft stones like talc, porous materials like pumice, fragile jewels like opal, reactive minerals, toxic substances, or valuable specimens that could be damaged or destroyed during processing.


